Did you know that faulty outlets are a leading cause of electrical fires in homes? Understanding how to test outlet voltage is crucial for ensuring safety and preventing hazardous situations. By mastering this skill, you not only protect your home and loved ones but also enhance your proficiency as an electrician. Whether you’re a seasoned professional or an eager DIYer, knowing the correct methods for verifying outlet voltage can empower you to tackle electrical tasks with confidence. This guide will walk you through essential safety verification techniques, giving you the tools to approach your projects with a detailed understanding and a commitment to electrical safety. Ready to dive into the world of voltage testing? Let’s get started!
Understanding Outlet Voltage and Its Importance
Understanding the intricacies of outlet voltage is essential for ensuring electrical safety in any setting. Most residential electrical systems in the U.S. operate at a standard of 120 volts for general outlets, while larger appliances may require outlets rated at 240 volts. Recognizing the voltage levels in your outlets is crucial, not only for the efficient operation of devices but also for preventing electrical hazards. Incorrect voltage readings can indicate underlying issues such as faulty wiring or overloaded circuits, which can pose serious risks like electrical fires or equipment damage.
When you test outlet voltage, you are verifying that the electrical supply matches the expected levels for safe operation of your appliances. For instance, if an outlet measures lower than 110 volts, this could lead to devices underperforming or failing to operate altogether. Conversely, voltages significantly above the standard range can lead to overheating and potential fire hazards. Understanding how voltage discrepancies occur-stemming from old wiring, poor connections, or incorrect circuit setups-can empower homeowners and electricians alike to address and rectify these concerns proactively.
In practical terms, knowing how to safely test outlet voltage can also cultivate a sense of empowerment for homeowners. Equipped with the right tools, anyone can perform basic electrical checks to ensure their home’s safety. Moreover, understanding why maintaining adequate voltage levels is vital can help you appreciate the importance of regular electrical inspections, especially in older homes or those with a history of electrical issues. Keeping abreast of these fundamental aspects of electrical safety not only helps safeguard your property and loved ones but also enhances your confidence in handling potential electrical problems.
Essential Tools for Testing Voltage Safely

To effectively ensure electrical safety while testing outlet voltage, having the right tools is paramount. Not only do these tools enhance accuracy in measurement, but they also protect the user from potential hazards associated with electrical work. One essential device for anyone looking to verify outlet voltage is a multimeter. This versatile instrument can measure voltage, current, and resistance, making it invaluable for diagnosing a variety of electrical issues. When selecting a multimeter, opt for one with easy-to-read displays and clear labeling to facilitate quick readings.
Another important tool is a voltage tester, which is specifically designed for measuring voltage levels in outlets. These devices come in various types, including non-contact voltage testers that illuminate when they detect live wires, adding a layer of safety by allowing users to check outlets without physical contact. While handy for quick checks, pairing a voltage tester with a multimeter provides a more comprehensive analysis, especially in identifying fluctuating voltage levels that might be indicative of more serious wiring issues.
For those working frequently with electrics, a ground fault circuit interrupter (GFCI) tester is also beneficial. This handy tool can check the functionality of GFCI outlets, ensuring they trip correctly under fault conditions, which is crucial for preventing electrical shocks in wet areas like kitchens and bathrooms. Additionally, carrying a flashlight is practical; it allows you to inspect electrical panels and outlets in poorly lit areas.
Overall, investing in these tools not only enhances your ability to conduct thorough voltage tests but also boosts your confidence in identifying and troubleshooting electrical issues safely. Remember to always follow proper safety protocols while using these devices, such as wearing rubber-soled shoes and avoiding working in damp conditions. With the right equipment in hand, you’re better prepared to maintain a safe and efficient electrical environment.
Step-by-Step Guide to Testing Outlet Voltage
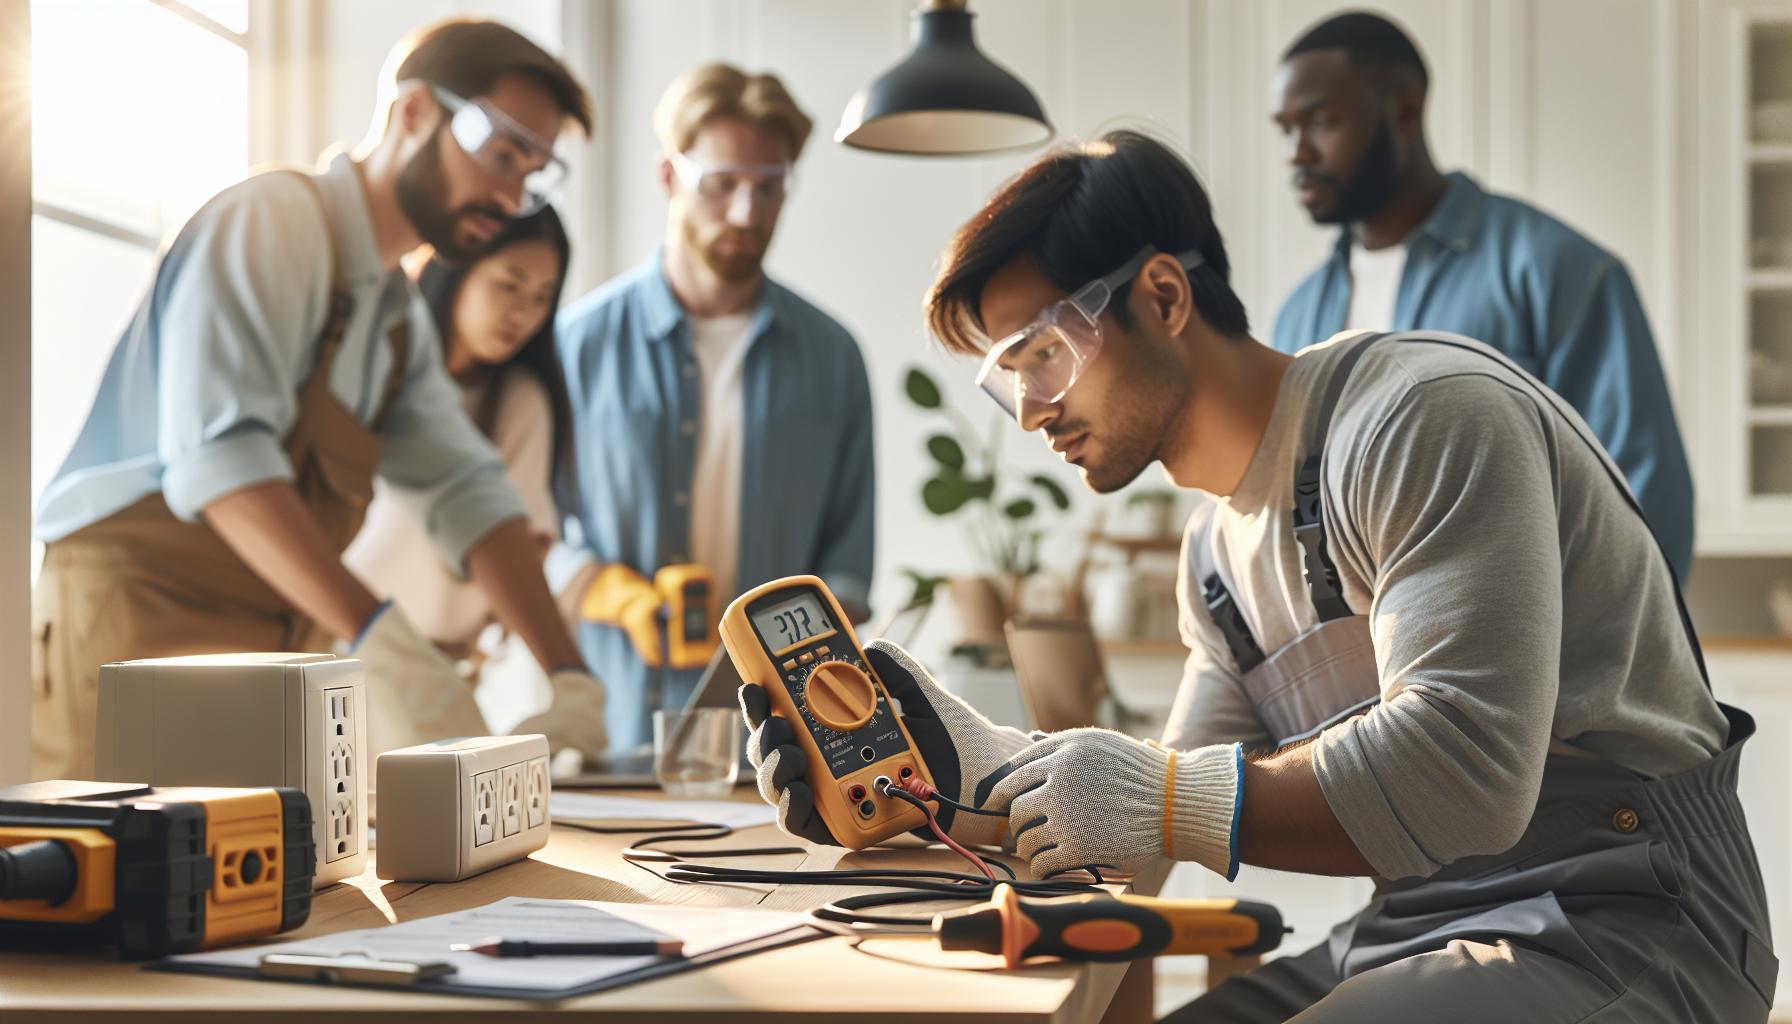
To ensure the safe and accurate testing of outlet voltage, it’s crucial to follow a systematic approach. Electrical currents can be hazardous, and knowing how to handle tools and interpret measurements is vital for both novice and experienced electricians. Begin by preparing your workspace: make sure it is well-lit and free from clutter, and wear appropriate safety gear, such as rubber-soled shoes and insulated gloves.
Next, gather your essential tools: a multimeter or a voltage tester. If you’re using a multimeter, set it to the AC voltage setting, typically indicated by a “V~” symbol. For a voltage tester, ensure it is functioning properly by testing it on a known live circuit. With your tools ready, plug the tester into the outlet you wish to check. For the multimeter, insert the probes into the outlet; one in the hot slot (the shorter slot) and one in the neutral slot (the longer slot).
Now, take your readings. A standard outlet should typically show a voltage reading around 120 volts in the United States. If using a multimeter, the display will indicate the voltage level. If the reading is significantly lower than expected, or if it’s zero, there may be an issue with the outlet or circuit. For the voltage tester, if the device lights up, the outlet is live; if it doesn’t, there could be an electrical fault. It’s a good practice to repeat the test with a different outlet in the area to confirm consistent voltage readings.
Finally, note any inconsistencies or odd measurements and consider further investigation or action. If you experience fluctuating readings, you may need to check for wiring issues, which could involve inspections of the breaker panel or the outlet connections. Remember, if troubleshooting reveals complex problems or unsafe conditions, it’s best to consult a licensed electrician.
Identifying Common Voltage Issues in Outlets
Identifying voltage issues in electrical outlets is crucial for ensuring the safety and efficiency of your home’s electrical system. Anomalies in voltage readings can indicate underlying problems that could escalate into dangerous situations if left unaddressed. Common voltage issues include low voltage, fluctuating voltage, and no voltage at all. Understanding how to identify these issues can save you from potential hazards and costly repairs.
The most prevalent issue, low voltage, often manifests when the reading falls below the standard 120 volts in the U.S. This can occur due to several factors, including long runs of wiring, poor connections, or overloaded circuits. For instance, if you find that your appliances are not operating efficiently or taking longer to function, it could be a sign of low voltage affected by distance from the breaker panel or corrosion on circuit connections. If you consistently measure voltages in the range of 110 volts or lower, it’s vital to evaluate the wiring and load distribution in your home.
Another common problem is fluctuating voltage, which can create an unstable and unreliable power supply. This can lead to malfunctioning appliances or even permanent damage to sensitive electronics. Fluctuations may stem from nearby heavy machinery, inadequate wiring, or issues with the utility company’s supply. If you experience frequent changes in voltage readings, consider investigating your electrical system, especially during peak usage times when demand is highest.
No voltage reading at all poses an immediate concern and often signals a more severe issue, such as a tripped breaker, disconnected wiring, or a blown fuse. To troubleshoot this, check your circuit breakers for any tripped switches and reset them if necessary. If the breaker trips again, refrain from resetting it repeatedly as it could indicate a significant electrical fault that may require professional intervention.
Understanding these common voltage issues can empower homeowners to take action where necessary, ensuring their electrical system remains safe and effective. Always remember, if you detect any anomalies that are beyond basic troubleshooting, consulting a licensed electrician is the best course of action to maintain safety and compliance with electrical standards.
Safety Precautions When Testing Electrical Outlets
When dealing with electrical outlets, safety must always be your top priority. Each year, thousands of injuries occur due to improper handling of electrical systems, and many of these incidents could be easily avoided with proper precautions. Understanding how to safely test outlet voltage can not only protect you but also extend the life of your electrical system.
Before you even think about testing an outlet, it’s crucial to equip yourself with the right tools. A digital multimeter or a non-contact voltage tester should be your go-to devices, as they allow you to assess voltage levels without direct contact with live wires. Ensure these tools are rated for the voltage levels you’ll be testing. For example, devices designed for 120 volts won’t be sufficient if you’re working in environments that may run higher voltages, such as certain commercial establishments.
Next, always start with a visual inspection of the outlet. Look for signs of wear, damage, or discoloration. If the outlet appears burnt, cracked, or if it feels warm to the touch, do not attempt to test it. In such cases, it’s vital to cut power to the outlet at the circuit breaker before proceeding. After verifying that power is off, use your voltage tester to confirm-this helps prevent any unexpected surprises.
Furthermore, it’s essential to wear appropriate personal protective equipment (PPE) while conducting your tests. Use insulated gloves and safety glasses to shield yourself from any potential electrical shocks or flying debris. If working in damp areas, be particularly cautious; moisture increases the risk of electrical shock. Always maintain one hand behind your back while testing to minimize the pathway to the ground in case of an accident, as this simple technique can greatly reduce the risk of a serious electrical shock.
Lastly, if you detect voltage levels that are outside of typical ranges (ideally around 120 volts in residential settings), take immediate action. Document your findings and report them to a qualified electrician who can investigate further. Ignoring abnormal readings can lead to electrical fires or damage to appliances. Always remember, while gathering knowledge about your home’s electrical system is invaluable, safety should never be compromised-consult a licensed professional when in doubt.
What to Do If You Detect Unsafe Voltage Levels
If you encounter unsafe voltage levels while testing an outlet, immediate action is essential to safeguard both your home and yourself. Voltage levels outside the normal range-typically around 120 volts for residential settings-can pose significant risks, including electrical shock, appliance damage, and fire hazards. The first step you should take is to disconnect power to the outlet immediately at the circuit breaker. This reduces the immediate risk of shock, allowing you to assess the situation safely.
Once the power is turned off, use a non-contact voltage tester to confirm that no voltage is present. This test gives you peace of mind before proceeding further. Document any abnormal readings or signs of damage you’ve observed, such as discoloration, physical deformities, or burnt electrical components. This documentation will be crucial when you consult a licensed electrician.
Follow these steps to address unsafe voltage levels:
- Cut power at the circuit breaker.
- Verify the absence of voltage using your tester.
- Document any irregularities or damage.
- Contact a qualified electrician for a detailed inspection and repair.
In some cases, the source of unsafe voltage could be attributed to deteriorated wiring or overloaded circuits, which a professional electrician can diagnose accurately. It’s critical not to attempt DIY repairs if you’re uncertain about the issues or do not have the necessary experience; this is where your safety is paramount. Professional electricians not only address the immediate problem but also often provide expertise on how to prevent future electrical hazards.
Be proactive about your electrical safety-understanding the signs of unsafe voltage can prevent accidents and ensure a secure living environment. Always err on the side of caution and remain informed about the systems that power your home, which is a wise approach, especially in an era of increasing electrical demands with the rise of smart technologies and electric vehicles.
How to Diagnose Outlet Wiring Problems
Diagnosing outlet wiring problems is a crucial skill for any homeowner or aspiring electrician. Understanding how to identify issues in your electrical system can prevent potential hazards, including electrical shocks or fires. One of the signs to look out for is flickering lights or tripped breakers, which often indicate a wiring issue at an outlet or within the circuit itself. Additionally, if you notice a burning smell or the outlet feels warm to the touch, it’s essential to investigate further.
To diagnose wiring problems effectively, start by turning off the power at the circuit breaker for the affected outlet. Using a multimeter, test the outlet for voltage to confirm that power is off before beginning any inspection. Next, visually inspect the outlet and the wiring connections. Look for signs of wear and tear, such as frayed wires or discoloration around the outlet. Ensure that all connections are tight; loose connections can lead to arcing and potential fire risks.
If you suspect that the wiring issue might be deeper, consider checking the condition of the circuit itself. This can involve inspecting junction boxes and connections where the wires come together before reaching the outlet. It is also worthwhile to check for possible ground faults with a specialized tester, which can help identify broken or improperly connected ground wires.
Common Wiring Problems to Look For
- Loose Connections: Always check that wires are securely attached to outlet terminals.
- Frayed Wires: Look for any signs of damage to wires, which can cause shorts or shocks.
- Overloaded Circuits: Ensure that you’re not exceeding the recommended load on the circuit, which could lead to overheating.
- Incorrect Wiring: Make sure that outlets are wired correctly, particularly with respect to hot, neutral, and ground connections.
If the issue persists despite your inspection and adjustments, it may be time to consult a licensed electrician. They can perform more intricate tests and repairs, ensuring that your home remains electrically safe. By maintaining a proactive approach to diagnosing and addressing wiring problems, you can protect your home and family from electrical hazards while enhancing your proficiency in electrical troubleshooting.
The Role of Circuit Breakers in Outlet Safety
A circuit breaker serves as a critical line of defense in electrical safety, specifically designed to protect outlets from dangerous conditions. When there is an issue, such as an overload or short circuit, the circuit breaker interrupts the electrical flow, effectively preventing electrical fires or shocks. This action is prompted by the excessive current that exceeds the breaker’s rated limit, showcasing the importance of having a correctly rated breaker for your circuit. Understanding how circuit breakers function is essential for any homeowner or aspiring electrician, enabling them to maintain a safe electrical environment.
Moreover, it’s crucial to regularly inspect circuit breakers to ensure they are functioning properly. Look for signs of wear, which may include a breaker that frequently trips or shows visible damage. In modern homes, GFCI (Ground Fault Circuit Interrupter) breakers are particularly valuable in areas at high risk for electrical shock, such as kitchens and bathrooms. These breakers monitor the electrical current flowing in a circuit and will shut off the power immediately if they detect any imbalance, thereby enhancing outlet safety.
When you test outlet voltage, always verify that the corresponding circuit breaker is operational and correctly rated for the circuit’s intended load. If you detect persistent issues with voltage readings, consider checking the breaker. It might be under-rated or malfunctioning, leading to problems throughout your electrical system. Understanding the interplay between your outlets and their respective circuit breakers will empower you to undertake more informed electrical maintenance and troubleshooting.
In situations where an outlet consistently requires resetting a breaker or if you detect unsafe voltage levels, it’s advisable to consult a licensed electrician. They can assess the entire circuit for integrity and ensure not only that the breakers are appropriate for the load but also that the wiring remains compliant with the latest electrical codes. By staying proactive in your understanding of circuit breakers, you ensure electrical safety while enhancing your skills as a competent homeowner or electrician.
Voltage Levels: Understanding What’s Normal vs. Dangerous
Understanding the difference between normal and dangerous voltage levels in outlets is crucial for maintaining electrical safety in your home or workplace. Standard residential outlets in the United States typically operate at 120 volts, with a tolerance that can vary slightly due to electrical loads and fluctuations. Recognizing what constitutes a “normal” voltage level not only ensures the proper functioning of electrical devices but also helps prevent hazards such as electrical shocks and fires.
Normal Voltage Levels
Most appliances and devices are designed to function safely at the nominal voltage of 120 volts. It’s common for this voltage to fluctuate within a range of about 5%, meaning voltages between 114 volts and 126 volts are generally acceptable. It is important for homeowners and electricians alike to use a voltmeter to check that voltage readings fall within this range. Functional devices such as lamps, computers, and kitchen appliances should operate without issues provided that the voltage levels remain stable and within these parameters.
Dangerous Voltage Levels
Conversely, voltages below 100 volts or significantly above 130 volts can signal underlying problems like wiring issues, overloaded circuits, or malfunctioning equipment. For example, if you encounter voltage readings consistently lower than 110 volts, it could indicate poor connections or other significant issues requiring immediate attention. On the other hand, voltages exceeding 130 volts can lead to overheating of devices, posing a risk of fire or electrical component failure. Any readings above 150 volts should be interpreted as a serious danger, warranting an urgent assessment by a licensed electrician.
Monitoring voltage is a proactive approach toward ensuring electrical safety. Regular checks can help in identifying potential issues before they escalate, minimizing risks associated with electrical faults. Should you discover abnormal voltage levels or experience frequent fluctuations, it is imperative to seek professional guidance to rectify these electrical concerns effectively, maintaining a safe environment for all.
Troubleshooting Outlet Voltage Readings
When dealing with outlet voltage readings, having a methodical approach is essential for accurate troubleshooting and ensuring safety. Voltage fluctuations can indicate underlying issues that require immediate attention. A major first step in troubleshooting is to utilize a reliable digital multimeter, which will not only provide voltage readings but also gauge the integrity of the electrical system. Familiarize yourself with the meter’s settings and functions, as improper use can yield misleading readings.
To begin, take readings at different times of day and under varying loads. This will help determine if the voltage is consistent or if it fluctuates significantly when multiple devices are in use. If a reading falls below 114 volts or exceeds 126 volts, it’s a sign something is amiss. Common causes include overloaded circuits, faulty wiring, or even issues from the utility grid.
Should you discover abnormal readings, your next steps should include examining the load on the circuit. Devices drawing excessive current can cause voltage drops. For instance, if several high-demand appliances are running simultaneously, it might contribute to lower voltage levels. In the event of persistent low readings after addressing the load, inspect for loose connections or degraded wiring, both of which can impede proper voltage flow.
For more severe issues, such as outlets consistently registering over 130 volts, conduct further assessments of the branch circuit and inspect the circuit breakers for proper functionality and reset status. If a problem persists, consider consulting a licensed electrician. They can perform intricate diagnostics and ensure that any rectifications align with current electrical codes and standards, ensuring both safety and functionality in your electrical installations.
Best Practices for Maintaining Safe Outlets
Maintaining safe electrical outlets is a crucial aspect of home safety and effective electrical performance. Did you know that faulty outlets are a leading cause of electrical fires? To mitigate this risk, regular inspection and proactive maintenance of outlets should become a standard practice for homeowners and electrical professionals alike.
Start with regular visual inspections to identify any signs of damage or wear on outlets. Look for discoloration, cracking, or loose fittings, which can indicate overheating or poor connections. Additionally, check if outlets are warm to the touch, as this can signify an underlying issue. It’s also important to ensure that all outlets have cover plates to prevent accidental contact with live wires.
A fundamental practice in maintaining outlets is to avoid overloading them. Be mindful of how many devices you plug into a single outlet; using power strips with surge protectors can help distribute power more evenly and safely. Furthermore, consider the installation of GFCI (Ground Fault Circuit Interrupter) outlets in moisture-prone areas like kitchens and bathrooms, as these outlets can prevent shock by quickly cutting off electricity in the event of a fault.
Another crucial aspect is understanding the importance of timely repairs. If you notice any irregularities-like sparking when you plug something in or persistent voltage issues-it’s vital to act quickly. Ignoring these symptoms can lead to more severe electrical problems or safety hazards. Keeping a trusted electrician’s contact information handy for consultations can save time and enhance safety.
Lastly, to keep your outlets functioning safely and efficiently, schedule routine maintenance every few years. This could include checking connections, ensuring proper ground and neutral wiring, and replacing outdated outlets. Proactive measures will not only enhance safety but also extend the lifespan of your electrical system, providing peace of mind in your daily life.
When to Consult a Professional Electrician
When it comes to ensuring the safety and functionality of electrical outlets, there are scenarios that clearly necessitate the involvement of a professional electrician. Not every homeowner is equipped to handle the complexities involved with wiring and voltage testing, and there are several telltale signs that indicate it’s time to call in an expert. For instance, if you experience frequent tripping of circuit breakers, unusual buzzing sounds from outlets, or persistent problems with flickering lights, these could signal deeper issues that require professional attention.
In addition, if you observe any physical signs of damage within your outlets-such as burn marks, heat emanating from the outlet, or a discoloration of the faceplate-it is crucial to act immediately. These indications often suggest that something is amiss within the outlet or wiring system. Likewise, homes with ungrounded outlets pose significant safety risks and should be upgraded to modern standards by a licensed electrician to guarantee proper grounding and fault protection.
For homeowners considering DIY electrical work, it’s essential to recognize your limits. Should you encounter problems during voltage testing, such as readings outside the normal range (typically 120 volts for standard outlets in the U.S.), or if you feel unconfident with the equipment, it is wise to reach out to a professional. Electricians are not only knowledgeable about codes and regulations but also trained to handle high voltages safely, protecting you from potential hazards associated with electrical work.
Overall, while DIY projects can be rewarding, the stakes with electrical systems are particularly high. Consulting a professional electrician whenever you face uncertainty regarding outlet issues is a proactive step toward maintaining a safe living environment. By doing so, you ensure that both you and your home are protected from electrical failures or hazards, preserving the integrity of your electrical system and providing peace of mind.
Faq
Q: How can I tell if an outlet is working properly?
A: To determine if an outlet is functioning correctly, use a multimeter to measure voltage. A reading of 120 volts for standard outlets indicates proper operation. For detailed testing methods, refer to the “Step-by-Step Guide to Testing Outlet Voltage” in our article.
Q: What tools are needed to test outlet voltage safely?
A: Essential tools for testing outlet voltage include a multimeter or a voltage tester. These devices help you measure electrical current accurately and ensure safety. For a comprehensive list, see the “Essential Tools for Testing Voltage Safely” section of our article.
Q: What should I do if my outlet shows no voltage?
A: If an outlet shows no voltage, first check your circuit breaker for tripped switches. If the breaker is fine, further investigate wiring issues or consult a professional electrician. More troubleshooting tips are available in the “Troubleshooting Outlet Voltage Readings” section of our article.
Q: Is it safe to test outlet voltage without turning off the breaker?
A: Testing outlet voltage without turning off the breaker can be risky. Always prioritize safety by using insulated tools and following precautions in the “Safety Precautions When Testing Electrical Outlets” section to reduce shock risk.
Q: Why might an outlet have a low voltage reading?
A: A low voltage reading can indicate issues such as loose wiring connections, overloaded circuits, or faulty outlets. For detailed diagnosis, refer to our article’s “Identifying Common Voltage Issues in Outlets” section.
Q: How often should I test the voltage in my outlets?
A: It’s recommended to test outlet voltage annually or more frequently if you experience electrical issues. This proactive approach helps maintain safe electrical conditions. Find more information in the “Best Practices for Maintaining Safe Outlets” section of our article.
Q: Can I use a regular household appliance to test outlet voltage?
A: Using a regular household appliance is not advisable for testing voltage due to safety risks. Instead, use a proper voltage tester or multimeter, as discussed in the “Essential Tools for Testing Voltage Safely” section for accurate and safe measurements.
Q: What voltage level is considered dangerous in an outlet?
A: Voltage levels above 120 volts could pose a danger, especially if combined with faulty wiring or equipment. Understanding what’s considered normal vs. dangerous is outlined in our “Voltage Levels: Understanding What’s Normal vs. Dangerous” section.
In Conclusion
Ensuring the safety of your electrical outlets is crucial, and now you have the tools and methods to verify their voltage effectively. Remember, regular testing can prevent hazardous situations before they arise. If you have any questions or need further guidance, don’t hesitate to explore our other articles on electrical safety and home maintenance for in-depth insights.
For even more valuable content, check out our guides on “Electrical Fundamentals” where you’ll learn about voltage, amperage, and load calculations, or dive into our “Smart Home Technologies” section to discover the latest advancements in home automation. Ready to enhance your skills further? Sign up for our newsletter to receive expert tips and tools directly to your inbox.
Your safety is our priority, and by taking these proactive steps, you’re not just protecting yourself, but also creating a safer environment for everyone. Don’t just stop here-share your thoughts in the comments below, and let’s keep the conversation going!